
How to Change the Coil on a Vape: A Beginner’s Guide
If you’re new to vaping, changing the coil on your vape may seem like a daunting task. However, it’s a necessary part of maintaining your device’s performance and ensuring that you get the most out of your e-liquid. In this article, we’ll walk you through the steps on how to change the coil on your vape.
One of the first signs that it’s time to change your coil is a burnt taste when you inhale. If you’re experiencing this, it’s time to replace the coil. Other signs include a decrease in vapor production, a gurgling sound when you inhale, or a leaky tank. By replacing the coil, you’ll be able to restore your device’s performance and enjoy a better vaping experience.
Before you begin, make sure you have the appropriate replacement coil for your device. It’s also important to ensure that your tank is empty to avoid any spills or leaks. Once you have everything you need, you’re ready to start. Follow the steps below to learn how to change the coil on your vape.
Understanding Vape Coils
https://www.youtube.com/watch?v=xAN_S_2vTSo&embed=true
When it comes to vaping, the coil is an essential component that directly affects the quality of your vaping experience. In simple terms, the coil is the heating element that vaporizes the e-liquid. Here are some key things you should know about vape coils:
Types of Coils
There are different types of coils available, and each one has its own unique features and benefits. Some of the most common types of vape coils are:
-
Round wire coil: This is the most basic type of coil, and it’s made of a single wire wrapped around a screwdriver or other cylindrical object. It’s simple to make, but it’s not very efficient in terms of vapor production.
-
Clapton coil: This type of coil is made by wrapping a thin wire around a thicker wire, creating a pattern that resembles a guitar string. It’s more complex to make than a round wire coil, but it produces more vapor and flavor.
-
Mesh coil: This type of coil is made of a mesh material that’s wrapped around a cylindrical object. It has a larger surface area than other types of coils, which means it can produce more vapor and flavor.
When to Replace Coils
Knowing when to replace your vape coil is essential for maintaining the quality of your vaping experience. Here are some signs that it’s time to replace your coil:
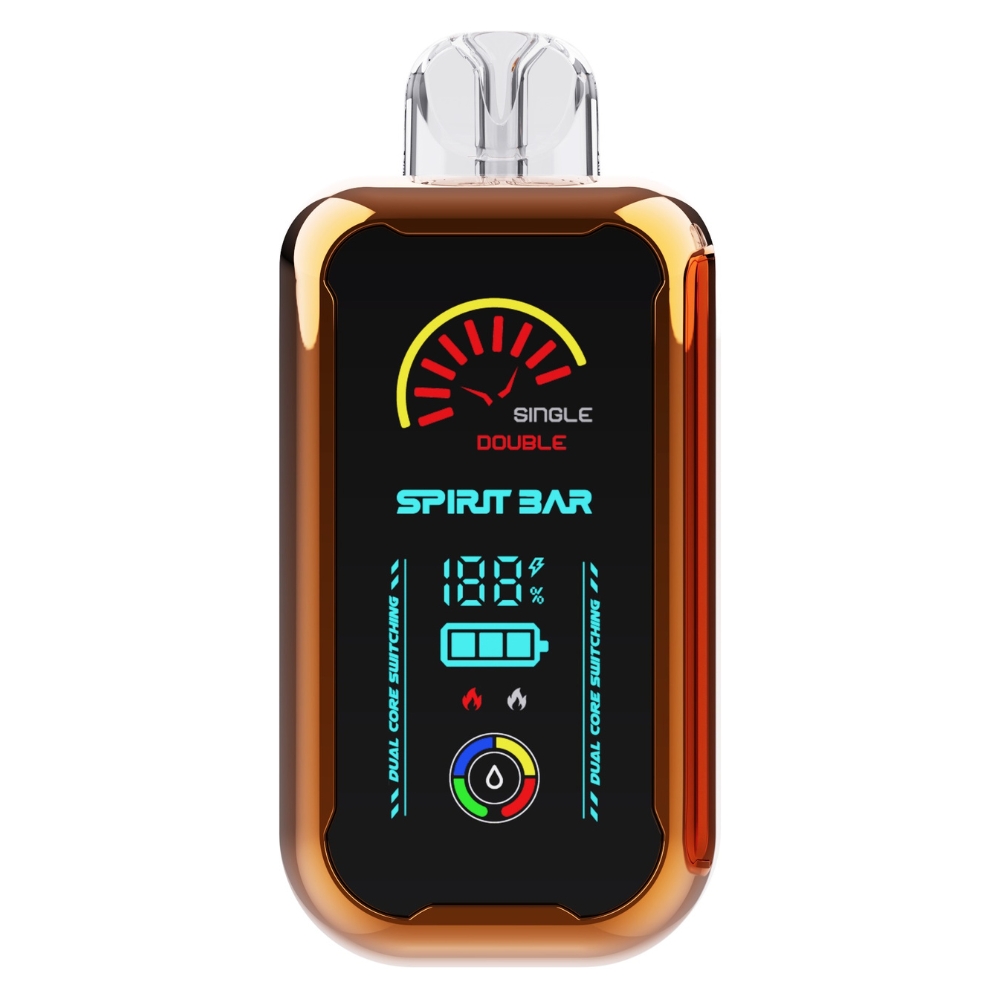
SPIRITBAR Katana BP10000
$14.99 (Free Shipping, 2-6 Days Delivery)
- Full-Screen Display
- Smooth & Boost Adjustable Two Models
- 25ml E-liquid Capacity
- 50mg Strength
- Up to 20000 Puffs
-
Burnt taste: If you start to notice a burnt taste when you vape, it’s a sign that your coil is burnt out and needs to be replaced.
-
Gurgling sound: If you hear a gurgling sound when you vape, it’s a sign that your coil is flooded with e-liquid and needs to be replaced.
-
Less vapor production: If you’re not getting as much vapor as you used to, it’s a sign that your coil is worn out and needs to be replaced.
How to Replace Coils
Replacing your vape coil is a simple process that can be done in a few easy steps:
-
Remove the tank from your vape device.
-
Unscrew the old coil from the bottom of the tank.
-
Screw the new coil onto the bottom of the tank.
-
Prime the new coil by adding a few drops of e-liquid onto the cotton wick.
-
Reattach the tank to your vape device.
By following these simple steps, you can replace your vape coil and get back to enjoying a high-quality vaping experience.
Identifying When to Change the Coil
https://www.youtube.com/watch?v=bn2rYU2UjBA&embed=true
Knowing when to change your vape coil is crucial for maintaining the quality of your vaping experience. Here are some signs that indicate it’s time to change your coil:
-
Burnt taste: If you start experiencing an acrid, burnt taste in your vape, it’s time to bid goodbye to your dead coil. A one-time hit off a burnt coil won’t have terrible consequences, but continued use can lead to a harsh throat hit and can even be harmful to your health.
-
Gurgling sounds: If you hear gurgling sounds while vaping, it’s a sign that your coil is flooded with e-juice. This can happen when the coil is worn out and can no longer vaporize the e-juice efficiently.
-
Weak vapor production: If your vape is producing less vapor than usual, it’s a sign that your coil is not functioning properly. This can be due to a buildup of residue on the coil or a worn-out coil that needs to be replaced.
-
Dry or burned taste: If your vape tastes dry or burned, it’s a sign that your coil is not wicking the e-juice properly. This can happen when the coil is clogged with residue or when it has reached the end of its lifespan.
-
Leaking: If your vape tank is leaking, it could be due to a worn-out coil that is no longer sealing properly. This can lead to a messy and wasteful vaping experience.
By keeping an eye out for these signs, you can ensure that you change your coil at the right time and maintain the quality of your vaping experience.
Materials Needed
To change the coil on your vape, you’ll need a few materials. Here’s a list of what you’ll need:

SPIRITBAR TRON 20000 Puffs
- Full-Screen Display
- Smooth & Boost Adjustable Two Models
- 25ml E-liquid Capacity
- 50mg Strength
- Up to 20000 Puffs
- Replacement coil
- Paper towel or tissue
- Vape juice
- Vape mod
Before you begin, make sure you have all of these materials on hand. You don’t want to start the process and realize you’re missing something important.
One important thing to note is that not all coils are the same. Make sure you have the correct replacement coil for your specific vape model. Consult the manufacturer’s instructions or do some research online to ensure you have the right coil.
Another thing to keep in mind is that you’ll need to clean the tank before installing the new coil. Use a paper towel or tissue to wipe down the inside of the tank and remove any excess juice or debris.
Once you’ve gathered all of your materials and cleaned the tank, you’re ready to start changing the coil.
Removing the Old Coil
When it’s time to change the coil on your vape, the first step is to remove the old one. This can be a bit tricky, but with a little practice, you’ll be able to do it quickly and easily. Here’s how to remove the old coil:
Unscrewing the Tank
The first step is to unscrew the tank from the body of the vape. Depending on your setup, this may involve unscrewing the tank from the bottom section, or it may involve twisting the tank off using your hands. Hold the tank upside down to prevent any e-liquid from spilling out.
Taking Out the Old Coil
Once you’ve unscrewed the tank, you should be able to see the old coil inside. Use a pair of tweezers or pliers to grip the base of the coil and gently pull it out of the tank. Be careful not to damage the tank or the coil when you’re doing this.
SPIRITBAR Katana BP10000
$14.99 (Free Shipping, 2-6 Days Delivery)
- Full-Screen Display
- Smooth & Boost Adjustable Two Models
- 25ml E-liquid Capacity
- 50mg Strength
- Up to 20000 Puffs
If the old coil is still in good condition, you may be able to clean it and reuse it later. However, if it’s worn out or damaged, it’s best to dispose of it and replace it with a new one.
That’s all there is to removing the old coil from your vape. With a little practice, you’ll be able to do it quickly and easily, and you’ll be on your way to enjoying a fresh, flavorful vaping experience.
Installing the New Coil
Once you have removed the old coil, it’s time to install the new one. Follow these steps to ensure a smooth installation process.
Priming the New Coil
Before installing the new coil, it’s essential to prime it properly. Priming the coil means saturating the wick with e-liquid to prevent it from burning out prematurely. Here’s how to prime your new coil:
- Apply a few drops of e-liquid onto the exposed cotton wick of the coil.
- Let the coil sit for a few minutes to allow the e-liquid to soak in.
- Repeat this process until the cotton wick is fully saturated with e-liquid.
Inserting the New Coil
Once you have primed the new coil, it’s time to insert it into your vape device. Follow these steps to install the new coil:
- Screw the new coil onto the base of the tank.
- Insert the tank back into the body of your vape device.
- Fill the tank with e-liquid, making sure not to overfill it.
- Let the tank sit for a few minutes to allow the e-liquid to soak into the new coil.
- Take a few dry hits (puffing without activating the fire button) to draw e-liquid into the coil and saturate it fully.
Congratulations! You have successfully installed a new coil in your vape device.
SPIRITBAR TRON 20000 Puffs
- Full-Screen Display
- Smooth & Boost Adjustable Two Models
- 25ml E-liquid Capacity
- 50mg Strength
- Up to 20000 Puffs
Reassembling the Vape
Now that you have replaced the coil, it’s time to reassemble the vape. Here are the steps to follow:
-
Take the new coil and screw it into the base of the tank. Make sure it’s tightened properly, but don’t overtighten it as this can damage the coil.
-
If your tank has adjustable airflow, adjust it to your preferred setting.
-
Take the glass tube and slide it over the base of the tank. Make sure it’s snugly in place.
-
Screw the top cap back onto the tank. Again, don’t overtighten it.
-
If your tank has a top-fill mechanism, slide open the top cap and fill the tank with your favorite e-liquid. Make sure not to overfill it.
-
Slide the top cap back into place and close it.
-
Wait a few minutes for the e-liquid to saturate the coil before vaping. This is called priming the coil and helps prevent dry hits.
Congratulations, you have successfully changed the coil and reassembled your vape!
Proper Coil Maintenance
Maintaining your vape coil is essential to ensure that it lasts as long as possible and performs at its best. Here are some tips for proper coil maintenance:
Regular Cleaning
Cleaning your coil regularly can help prolong its lifespan and improve the flavor of your vape. To clean your coil, remove it from the tank and rinse it under hot water. You can also use a small brush or toothbrush to gently scrub away any residue. Allow the coil to dry completely before reassembling your vape.
Avoiding Coil Burnout
One of the most common issues with vape coils is burnout, which occurs when the coil becomes too hot and burns the wicking material. To avoid burnout, make sure to prime your coil properly before using it for the first time. This involves saturating the wicking material with e-liquid and allowing it to soak in for several minutes before vaping.
Another way to prevent burnout is to avoid chain vaping, which can cause the coil to overheat. Instead, take breaks between puffs to allow the coil to cool down. You should also avoid using high wattage settings, as this can cause the coil to heat up too quickly.
By following these tips for proper coil maintenance, you can help ensure that your vape coil lasts longer and delivers the best possible flavor.